
For many businesses, the ability to run applications on Azure presents some great benefits—from lower hosting costs to better application speed, scalability, and reliability. For those that have on-premises ASP.Net applications, making the move to Azure is a compelling opportunity. However, moving an application from on premises to Azure can be a daunting task. There are so many options and things to consider. It's tough to know where to start.
This blog series is intended to be a step-by-step guide to moving your first ASP.Net application to Azure Platform as a Service (PaaS). It's not intended to be a comprehensive article. It's intended to be a simple guide to setting up your first Azure PaaS application.
To greatly simplify the process, I provide a basic ASP.Net Application that uses MVC and entity framework to create a very simple demo application. This application is designed to be simple in nature and easy to get running. It does not use authentication. It uses one SQL connection, uses one table, has a couple of controllers, and has a few views.
In this blog series, we will walk through each step:
- Download the Source Code
- Get It Running in Visual Studio (2017 or 2019 Is Best)
- Create Your Azure Account and Resources
- Deploy the Application to Azure
- Use Configuration Settings
- Create SQL Azure Database
- Connect the Application to SQL Azure
In this first blog, we will go through steps 1 and 2, where we download the source code and run it in Visual Studio.
Step 1: Download the Source Code
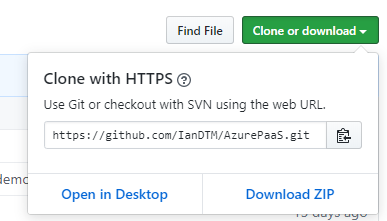
First, you can download the source code from my GitHub repository: https://github.com/IanDTM/AzurePaaS.
Start by downloading the source. You’ll see that no GitHub account is required. Using the green button, select Download ZIP:
Once you have downloaded the zip, extract the contents to a working folder.
Step 2: Get it Running in Visual Studio (2017 or 2019 Is Best)
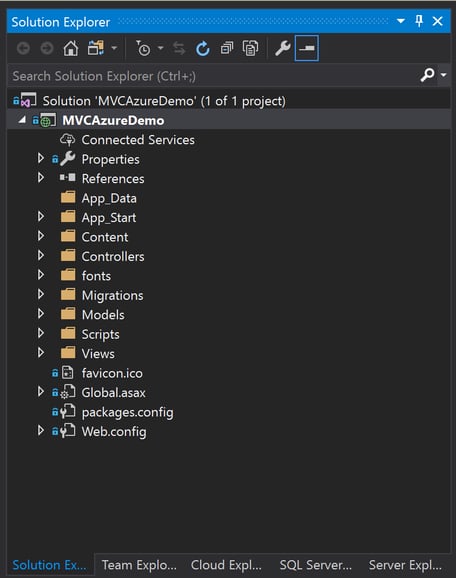
Start Visual Studio 2017 or 2019, and open the solution file. You should see something similar to this:
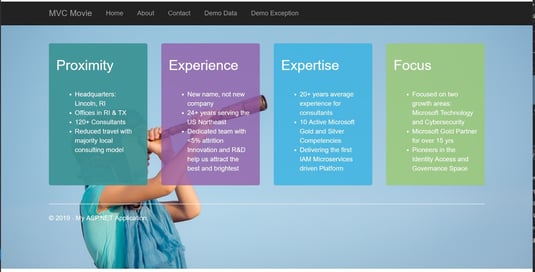
Press F5 to compile and debug the application. A new browser should appear with the following:
Click the “Demo Data” link and a new page should be displayed. The value displayed is stored in the “web.config file”. Later we will see how this value can be modified by administrators without the need for code modification.

Next, click the “Demo Exception” link (the code will stop in the debugger in Visual Studio). Press F5 to continue. If you look at the code, you will see that it is designed to throw an exception. We will use this later to explore Azure Application Insights and see how we can use snapshot debugging.
Finally, click the “MVC Movie” link. This will display a list of movies:
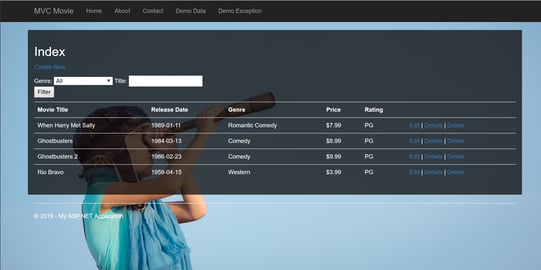
Try adding, editing, or deleting an entry.
This completes the test of the application running locally.
What’s Next?
In this first blog, we walked through downloading the application and then running it locally. In the next blog, the second installment in this series, we will move on to creating an Azure account and setting up resources for the application in Azure. If you need more assistance or need an expert partner to help you drive the most value from Azure, contact us at Spyglass MTG. We’d be delighted to help.
Read Moving Apps to Azure Part 2: Create Azure Resources for Your ASP.Net Application.