
In this blog series, I am taking you through a step-by-step guide, where we are downloading a simple ASP.Net Application and moving it to an Azure PaaS environment. Instead of being comprehensive, this is a simple tutorial to help you get started with your first application on Azure.
In part one of this blog series, I showed you how to download the source code for the ASP.Net application and run it in Visual Studio 2017 or 2019. In part two of this blog series, I walked through creating an Azure App Services account and setting up Azure resources that will be needed for the application. Part three of the blog focused on development deployment of the application on Azure. Now, part four of this blog will show you how to handle configuration changes for the app to run on Azure.
Step 5: Configuration Changes
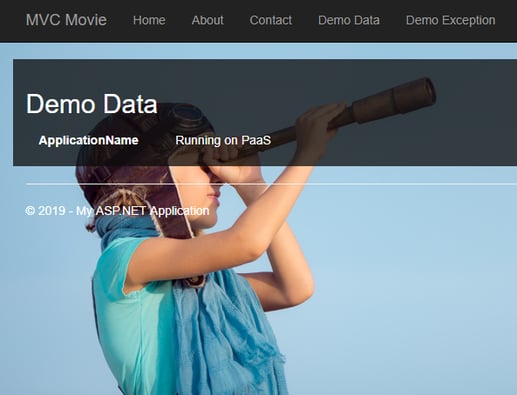
If you click on the Demo Data link in the navigation, the page displays a piece of information stored in the web.config file. Azure provides a mechanism by which administrators can override the values stored in the deployed Web.config—this allows for production entries to be controlled by IT staff or privileged staff.
To override the value displayed, follow these steps:
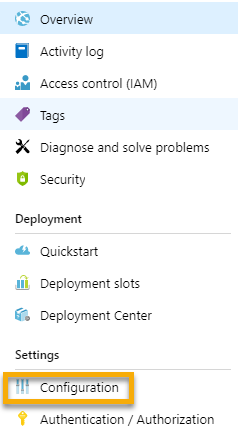
1. Navigate to the App Service Overview page for your application.
2. Click the Configuration link.
3. The list of Application Settings is displayed.
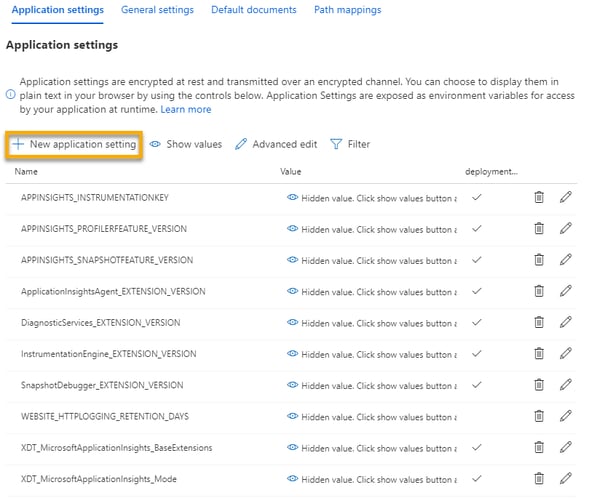
4. Click the New Application Setting link.
5. Enter the setting name from the web.config file:
ApplicationDemoName.
Enter a value.

6. Click OK.
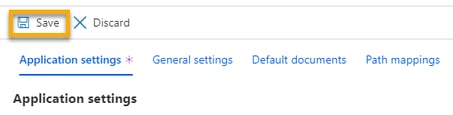
7. Click Save.
8. The settings will update, which will restart the web application—refresh a web browser and navigate to the Demo Data page. You may receive a 500 error. This is expected as the server reboots.
Now You’re Up and Running with an Application on Azure
This guide has taken you through each step to move a simple ASP.Net Application to Azure PaaS. This has been a basic intro to start your application journey with Azure. The platform can deliver so much value to today’s businesses. Sometimes expert help can be the key to making the most of these kinds of technology tools. If you’d like to have an engaging conversation with an Azure expert about your business goals or working in an Azure environment, Spyglass MTG would be delighted to help. Let’s talk.
Read part five, Moving Apps to Azure Part 5: Connecting to the Azure SQL Database.